How to Mount Art Works on Paper Onto Posterboard
How to mountain your artwork
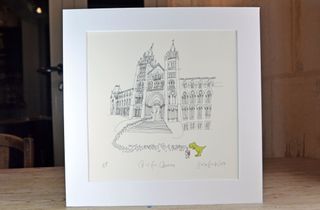
If you're wondering how to mount your artwork, keep reading. A well-executed mount is a bright technique to add to your tool-belt, calculation an artful quality and creating the perfect environment for the viewer to feel your pictures. But mounts are also for protection – allowing the art to expand or contract, depending on temperature and the moisture content of the air surrounding information technology.
Crucially, the mount prevents the delicate pigments on the page from rubbing or pressing on the glass of the frame. If y'all're framing a pastel cartoon or oil painting, this is particularly necessary as the work could stick to the drinking glass and be difficult to remove without causing damage.
Materials to mount your artwork
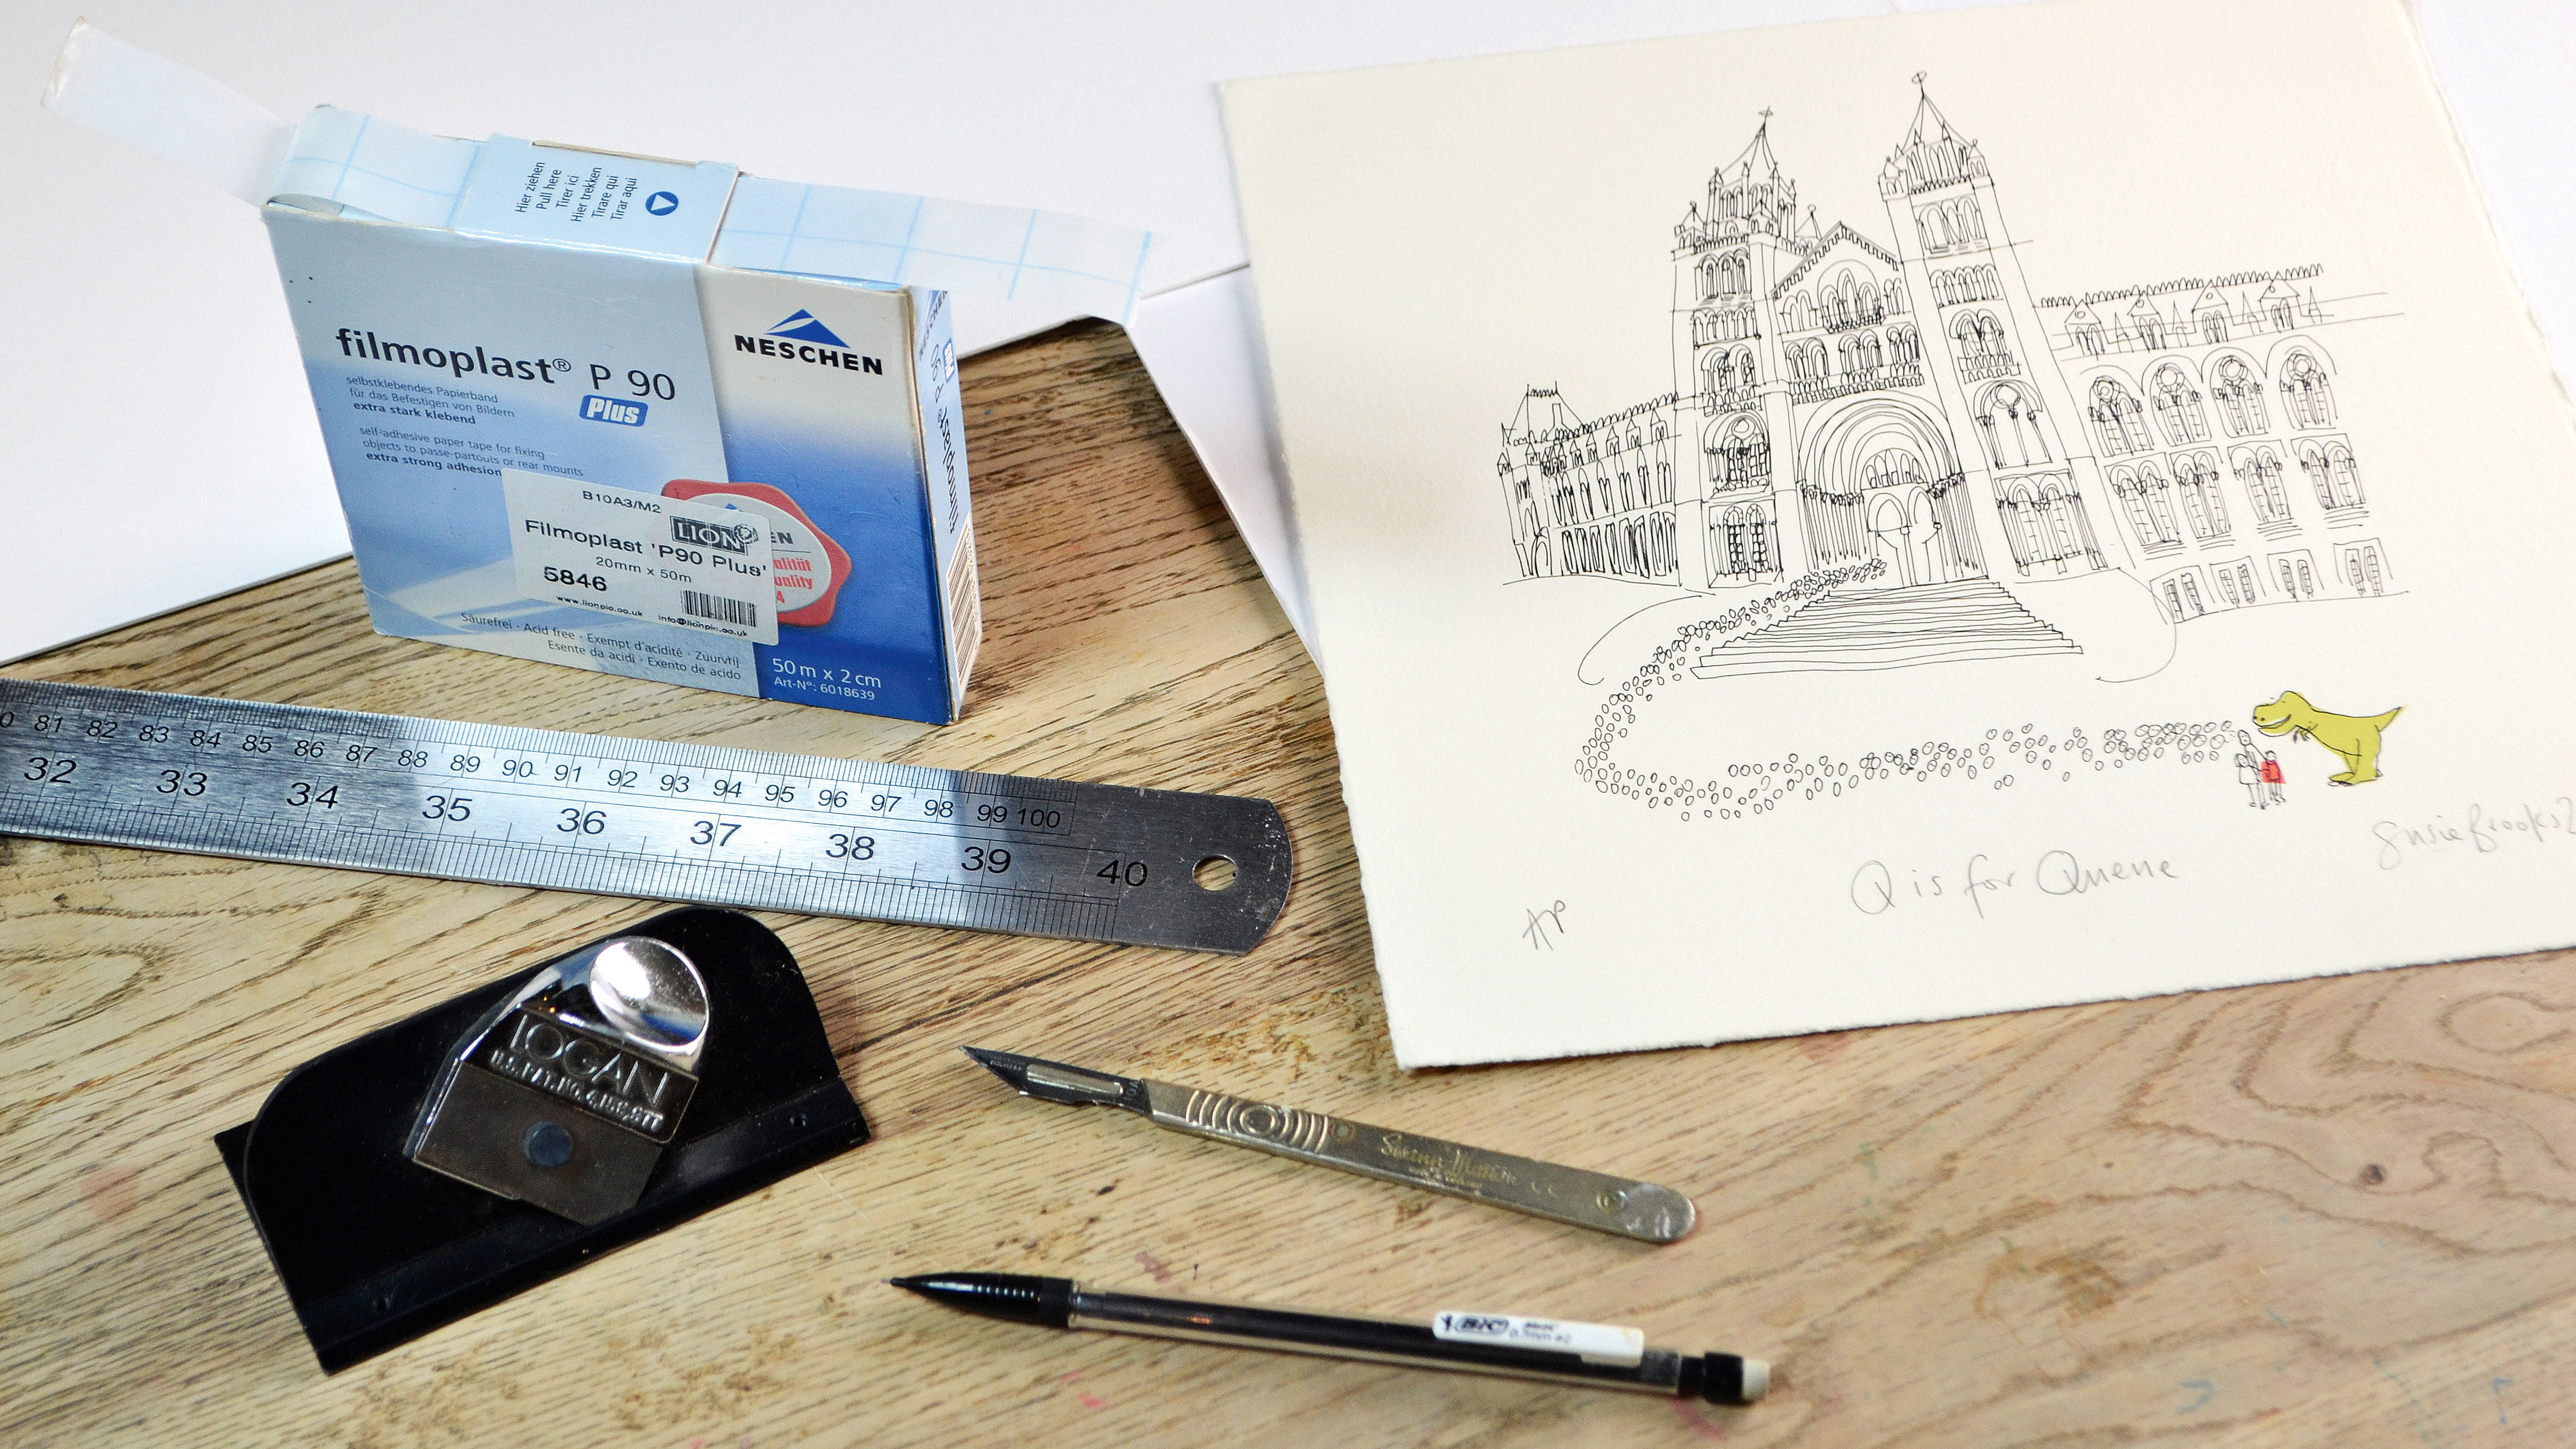
To create the mount you will need a clean, flat working surface area, a slice of work to mount, and a few basic tools:
Mounting may expect simple, merely it's a more sophisticated process than it get-go appears. Most standard mounts will accept the window edges cut at 45 degrees to create a bevel and have an angled corner. When you cut through the board at an angle, you create a nice finish simply the cutting needs to be totally straight and make clean, coming together at the corners perfectly.
Hither, we run through the basic methods you demand to mount your fine art, but the more you mount, the improve you will go, and yous will proceed to develop your ain mode. Want more? Try our list of essential fine art techniques and this roundup of art supplies.
How to mountain your artwork: Choosing the right mount board
There are many options when information technology comes to mount board. Hither'southward a quick lowdown:
- Museum grade: Top-quality lath that'due south acid-gratis with a high cotton content and fade-resistant finish, these are the kind of expensive boards museums use to preserve precious pieces of art
- Conservation form: A loftier-quality board, which is acid gratuitous and fade resistant – it'south more than than practiced enough for most uses and is cheaper than museum-grade board
- Standard grade: Cheaper, easier to utilise and widely available from near art shops, ideal for practising mount-cut techniques or framing projects
Aside from different grades, the board can come with different color cores, such equally black, white or cream. And then, regardless of the surface colour, the board that is exposed at the core of information technology (when the bevel is cutting, for example) will reveal a unlike colour.
Finally, near mountain board come in several thicknesses, typically:
- Standard: 1400/1500 microns or i.4/1.5mm thick
- Thick: 2000/2200 microns – 2/2.2mm thick
- Extra thick: 3000 microns – 3mm thick
You tin likewise buy spare mount board to utilize every bit a cutting mat to protect the surface you lot're working on. Likewise note that you may want to practise cutting windows on scrap mount board – retrieve you'll only go one hazard to become it right for existent.
Once you've got all your materials, you're ready to showtime mounting so keep reading for our step-by-stride guide on how to mount your artwork.
01. Mensurate your artwork and board
Mensurate the dimensions of your picture accurately, then determine how large the margin should be around your paradigm – sometimes modest images look great with large mounts, and vice versa. For your board, add double the border dimension to the width and height of the picture you lot are framing, then add a touch more to the height to allow for 'lower weighting' (run into step 2).
02. Mark the aperture
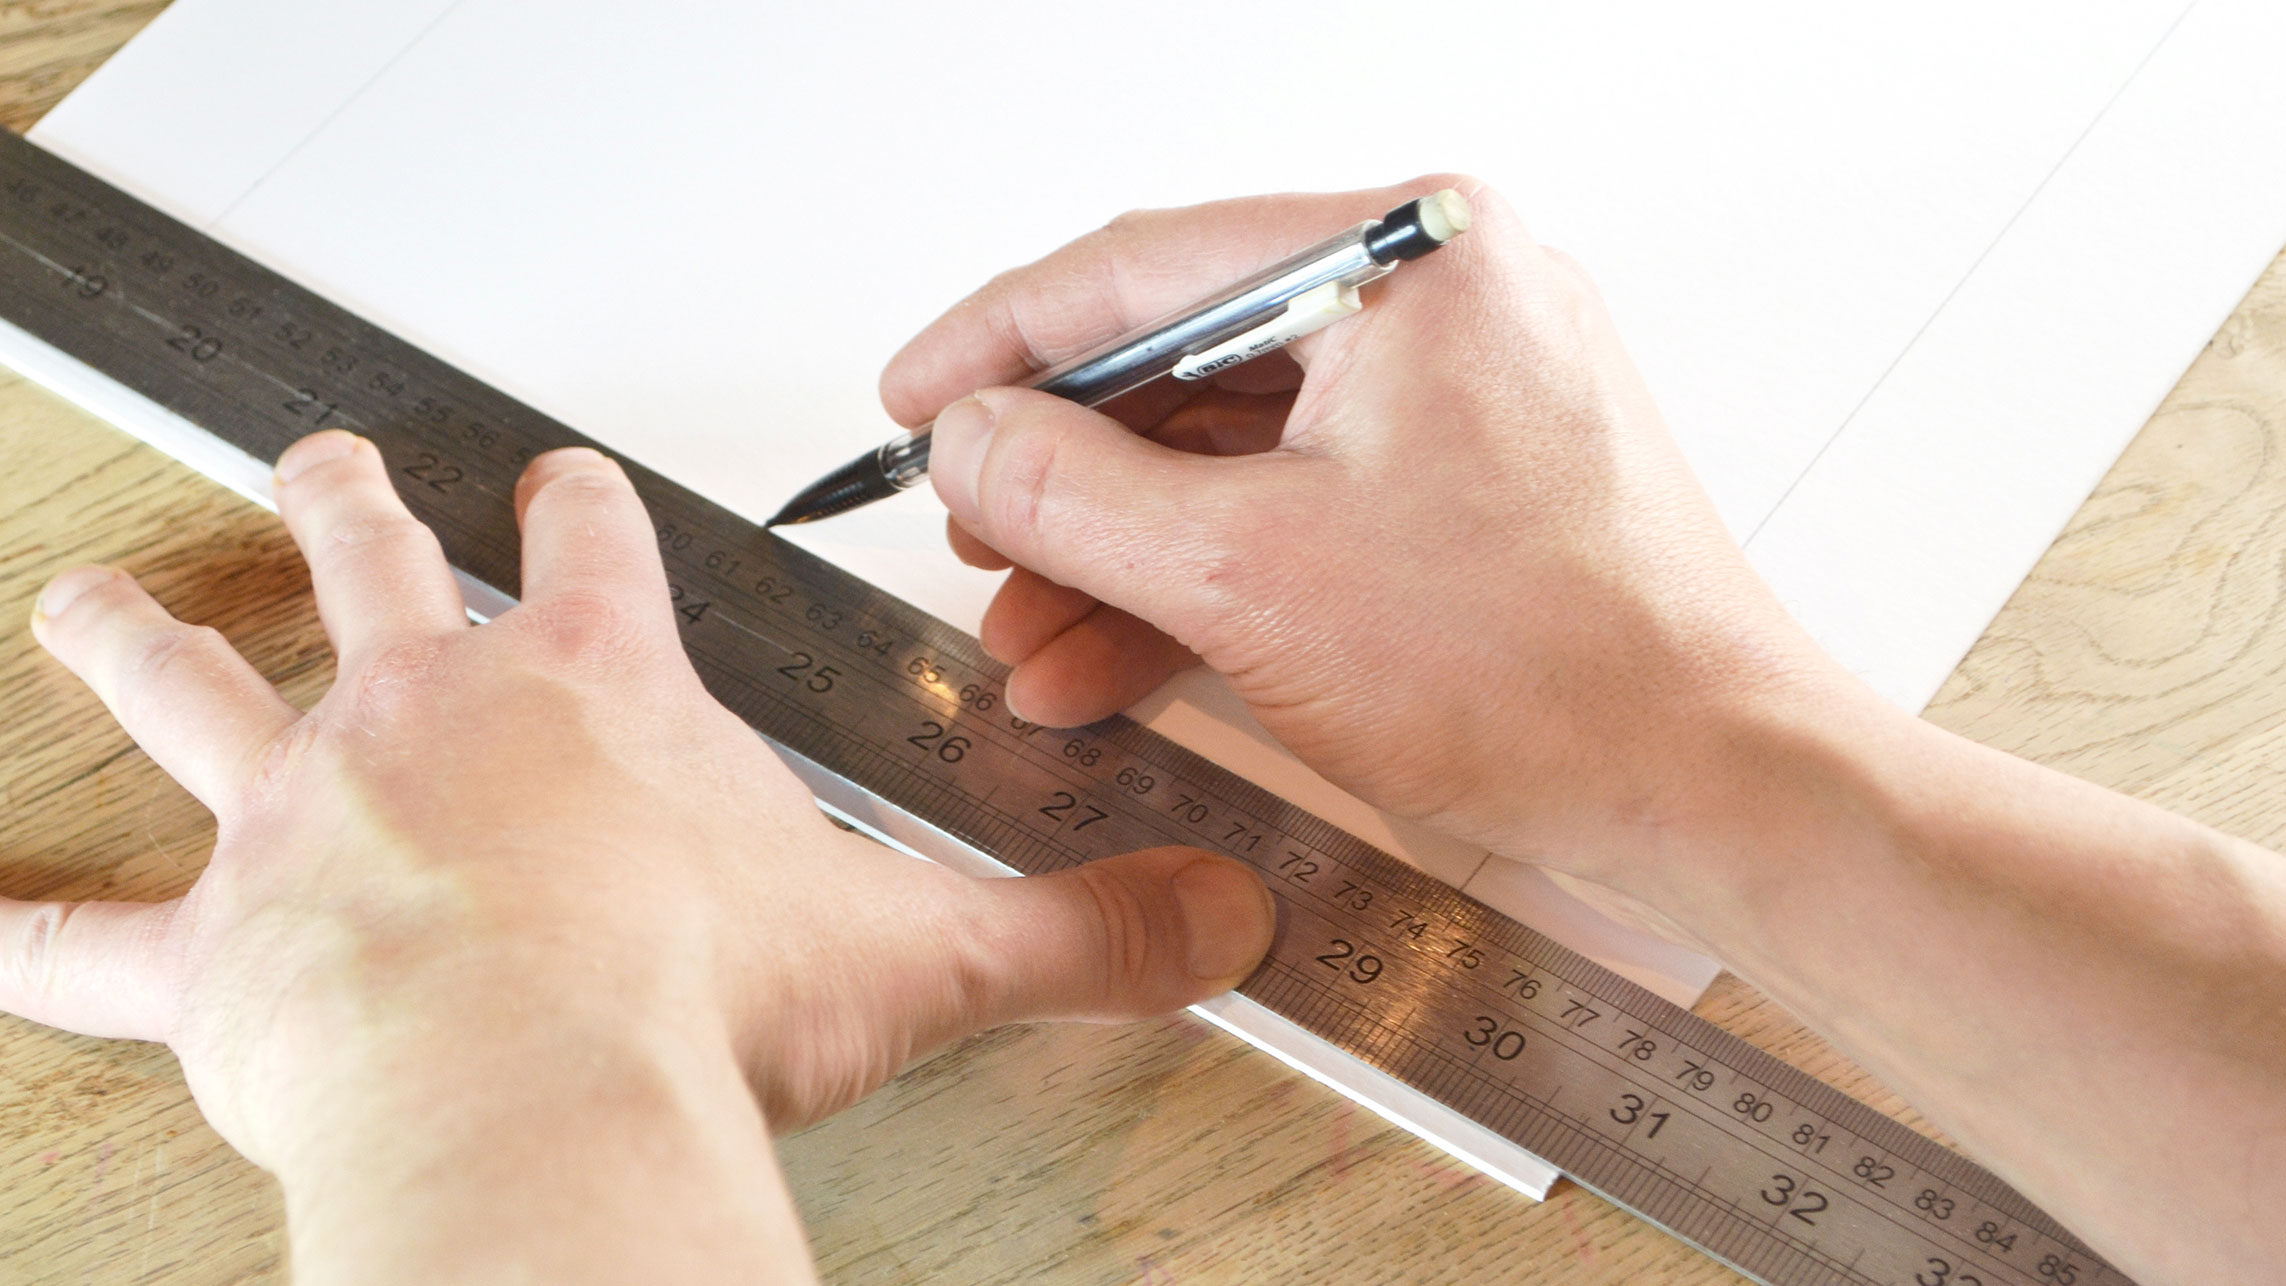
The next step in learning how to mount your artwork is to make certain your working surface area is make clean and dry out, and then place the mount board face downwards. With a precipitous pencil and ruler mark out the area yous will cut abroad to make the window. I adopt to make the edge slightly larger at the bottom, this 'lower weighting' has a pleasing proportion (almost doors have a larger bottom panel or the bottom drawer in a chest of drawers is oftentimes larger), extend your pencil lines across the surface area to be cut.
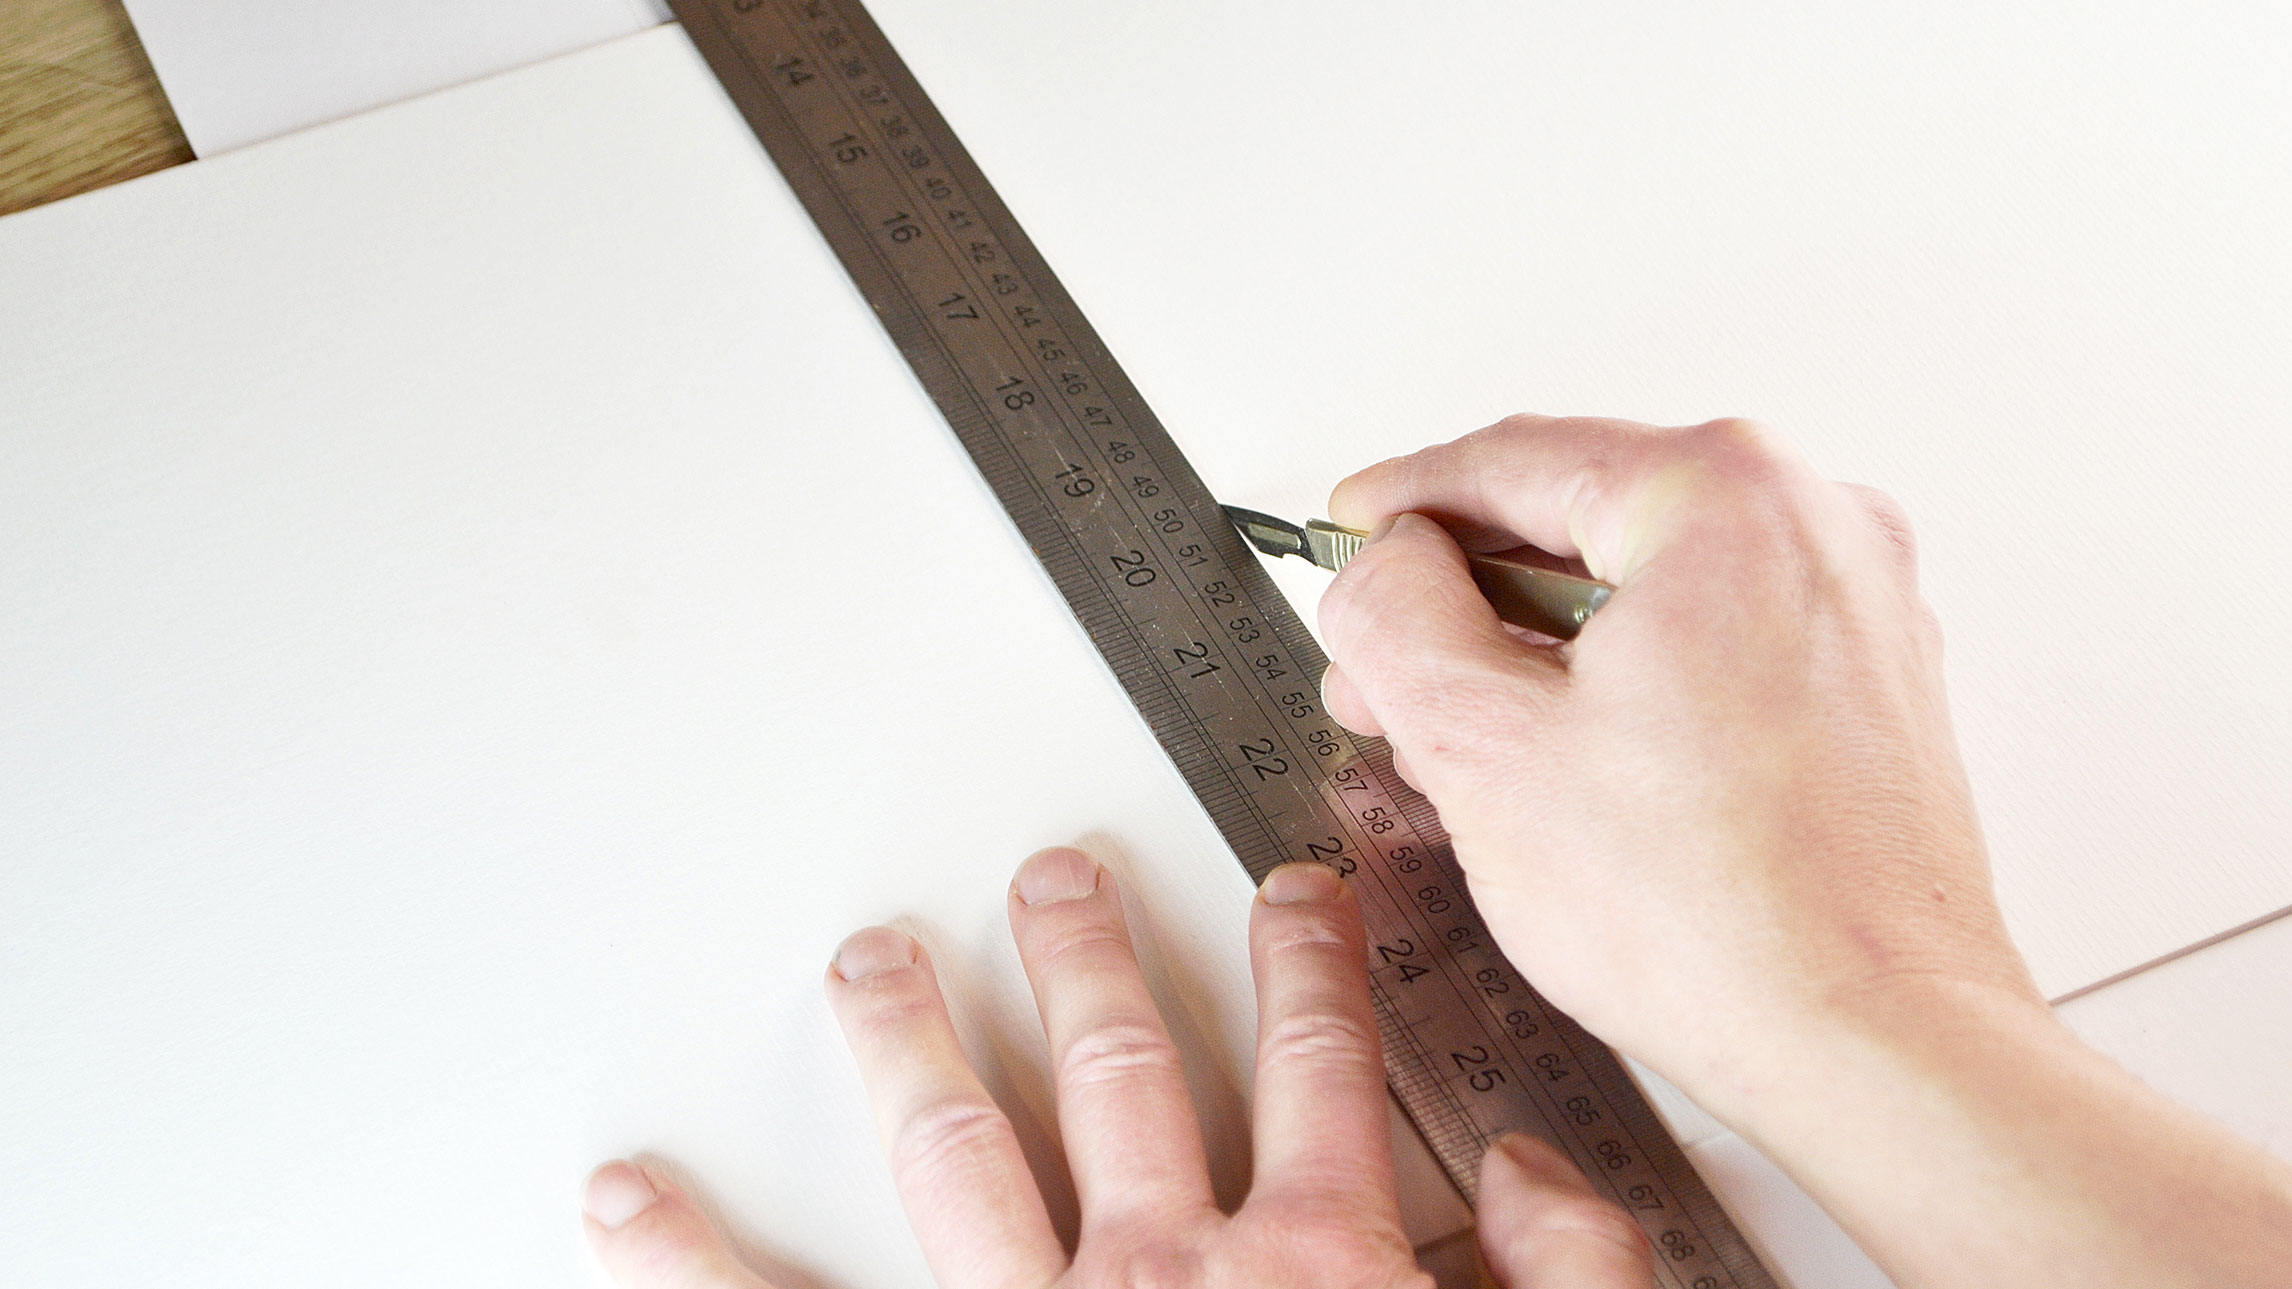
03. Prepare to cut
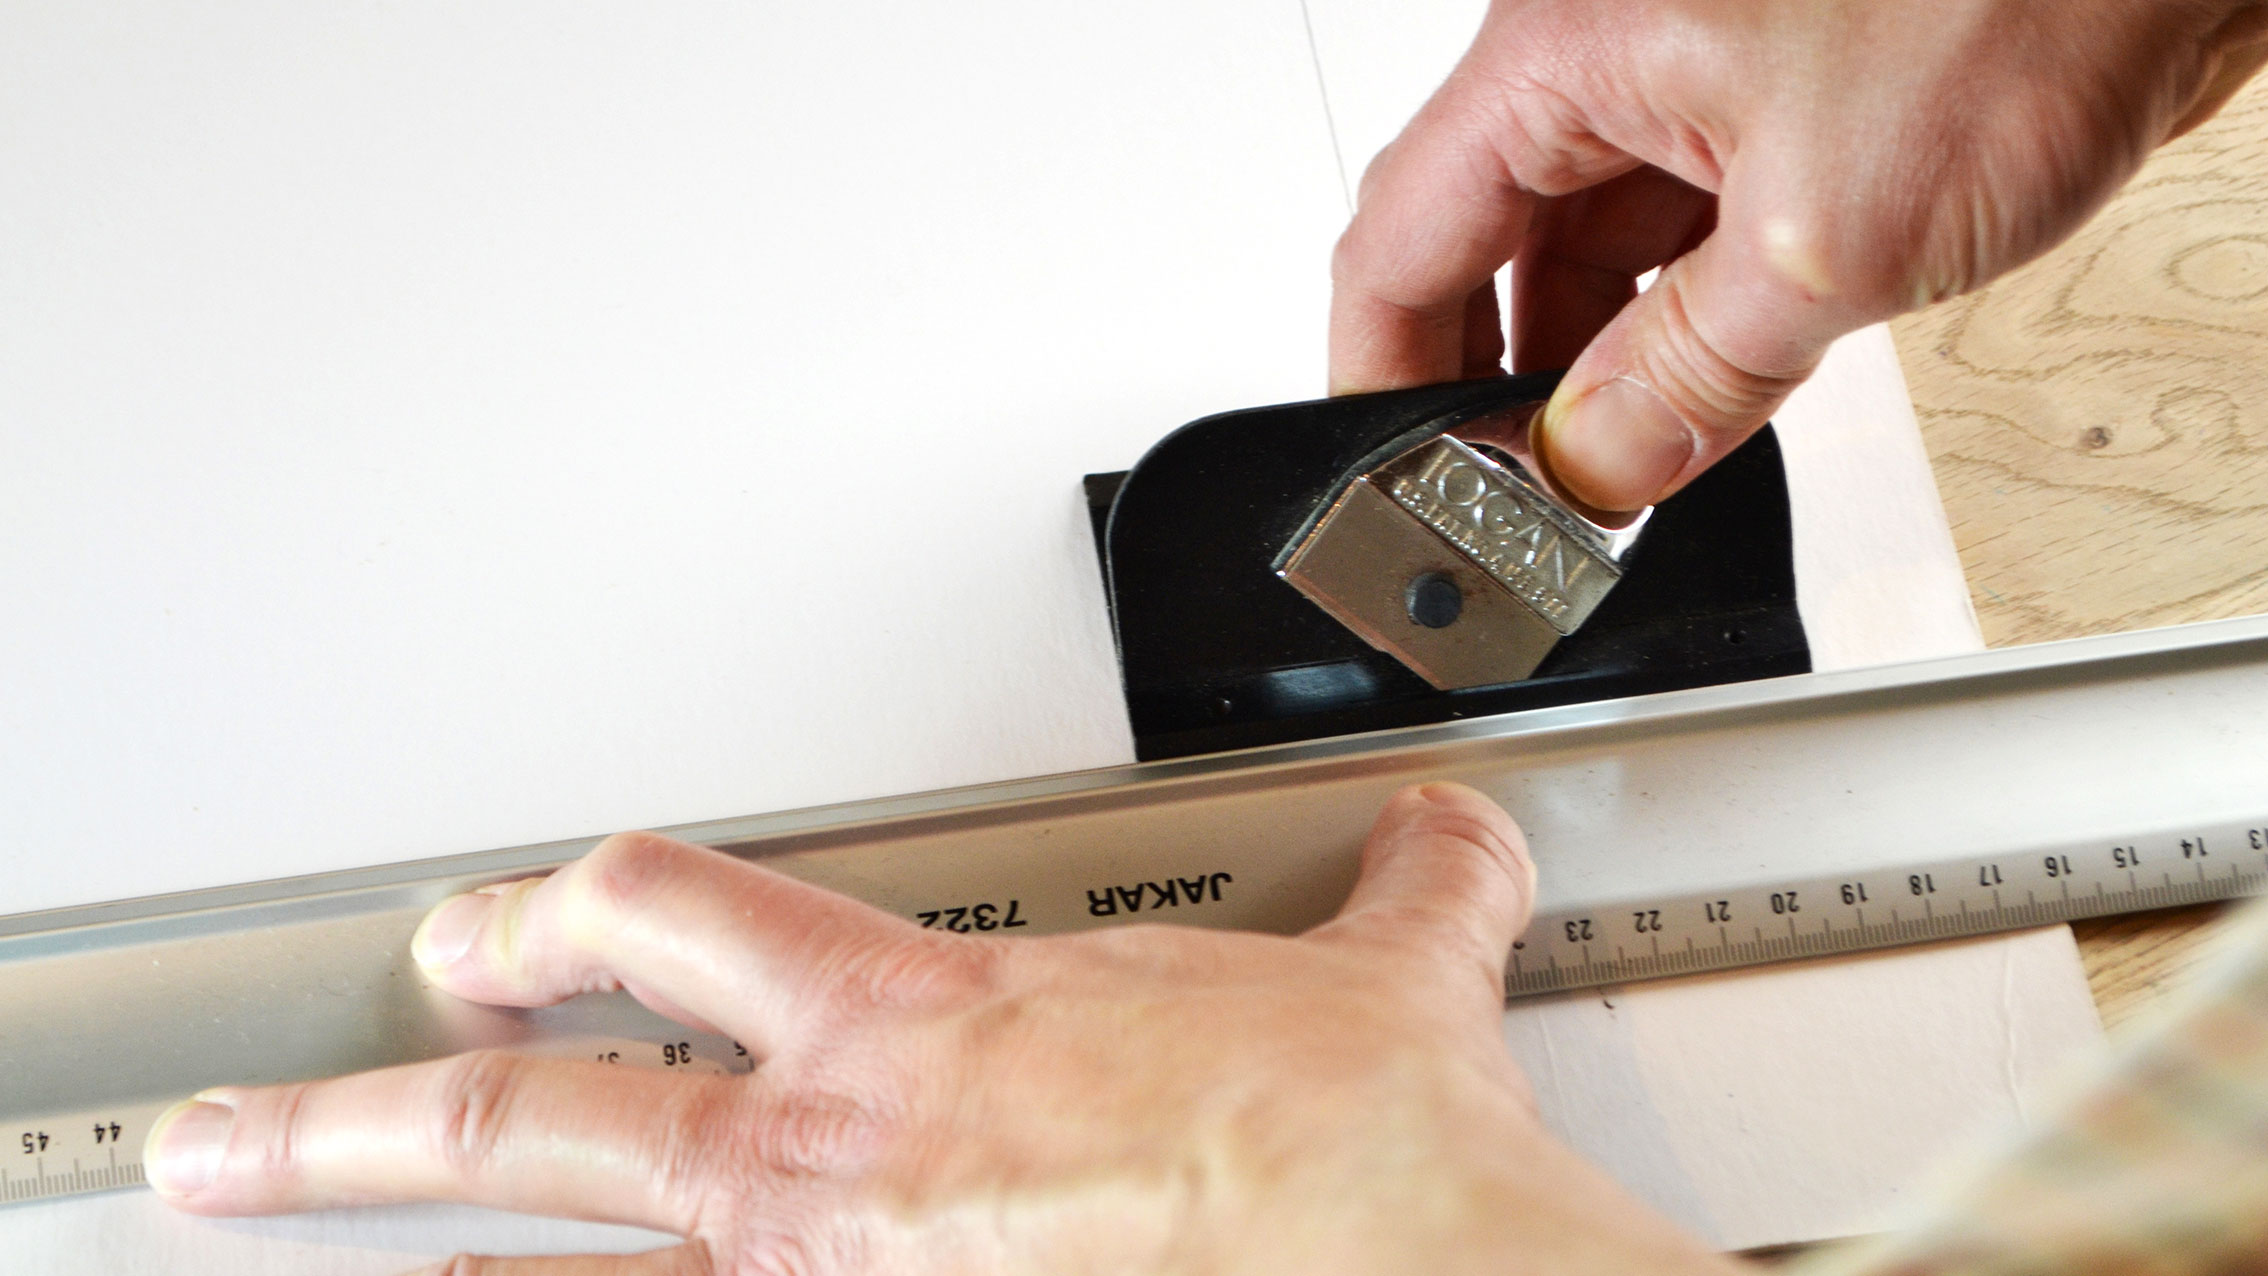
Now you have marked your cutting lines it's time to make the bodily cuts. Because we're cut at a 45-caste bending through the board it'southward important to work methodically and so all cuts are in the same direction.
Align the heart mark of your cutter with the right-paw perpendicular cut line and press firmly on the cutter so the blade goes all the way through the board. Maintain this pressure and slowly slide the cutter along the straight edge until the centre marking is just past the the adjacent vertical pencil line.
04. Check and echo
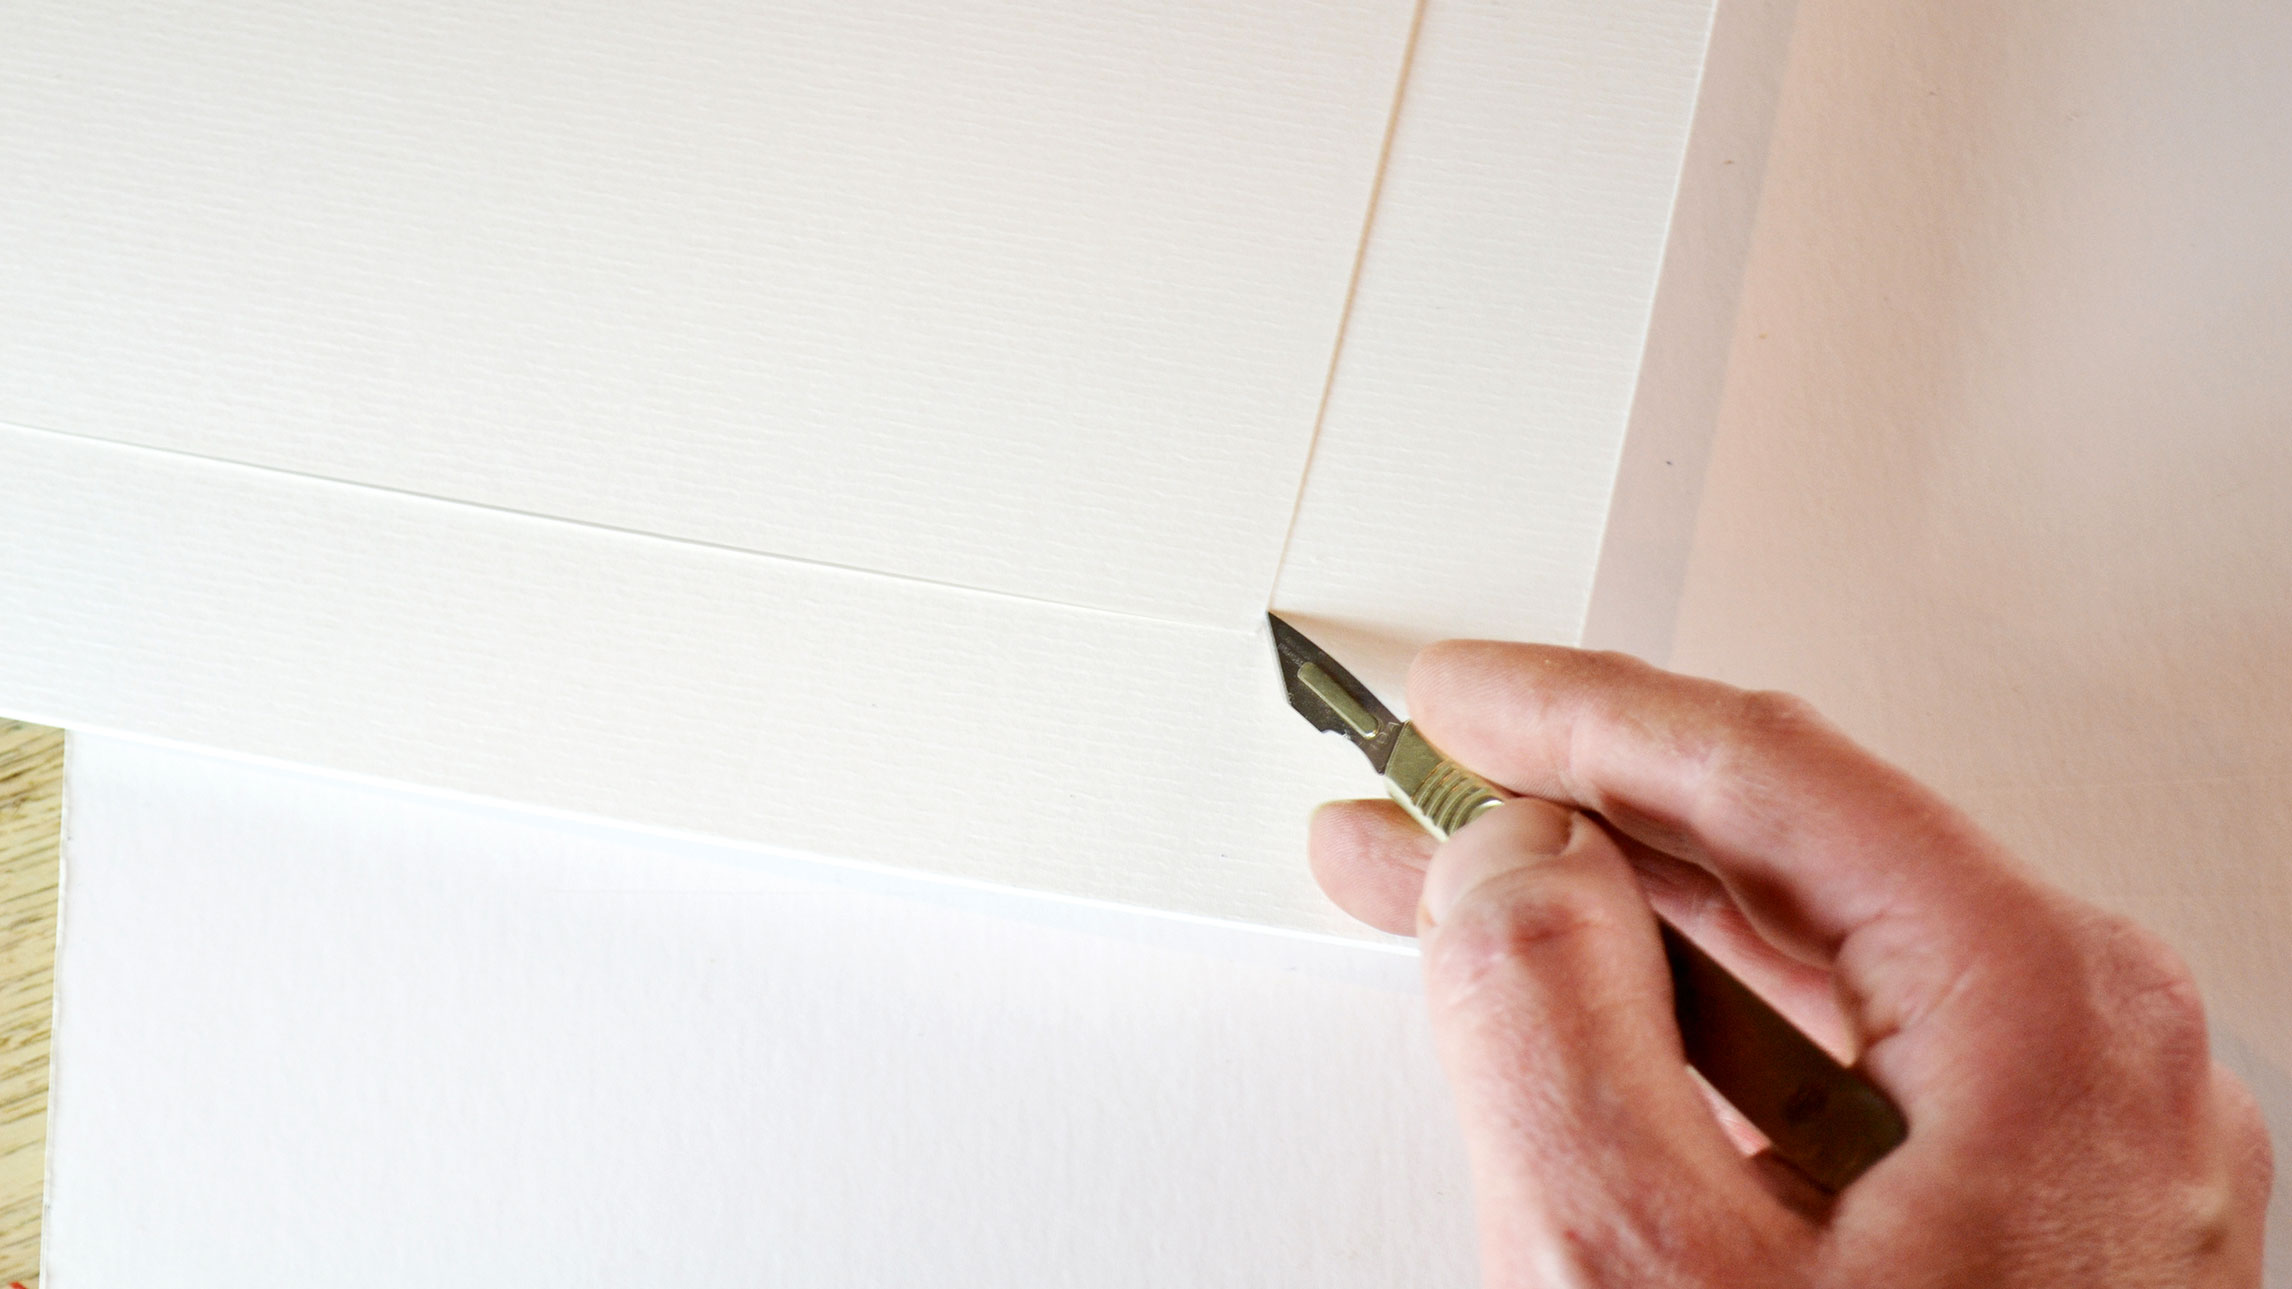
Flip your board over to check the blade has cut all the style through and left a clean incision. At present plow it dorsum over and rotate 90 degrees. Align your ruler to the next pencil line and brand some other cutting. Flip and check that your cut lines encounter at the corner and create an accurate bevel – sometimes you lot need to slide a sharp scalpel blade in at 45 degrees to aid release the corner without tearing the surface.
05. Book hinge the mount

Now that the aperture is cutting have a close await at the face of the mount and remove whatsoever blemishes and marks with the eraser – exist very careful if you're using a blackness mountain as they mark easily. Take your backing board and place it face on your work surface.
Place some waste lath at the peak and align your window to the top border of the backing board face downward. Place a couple of small pieces of record across the two boards to concur them in identify while y'all utilise a long strip of record beyond the whole length of the card. Raising the front piece of lath will cease the tape from stretching when the boards are folded over.
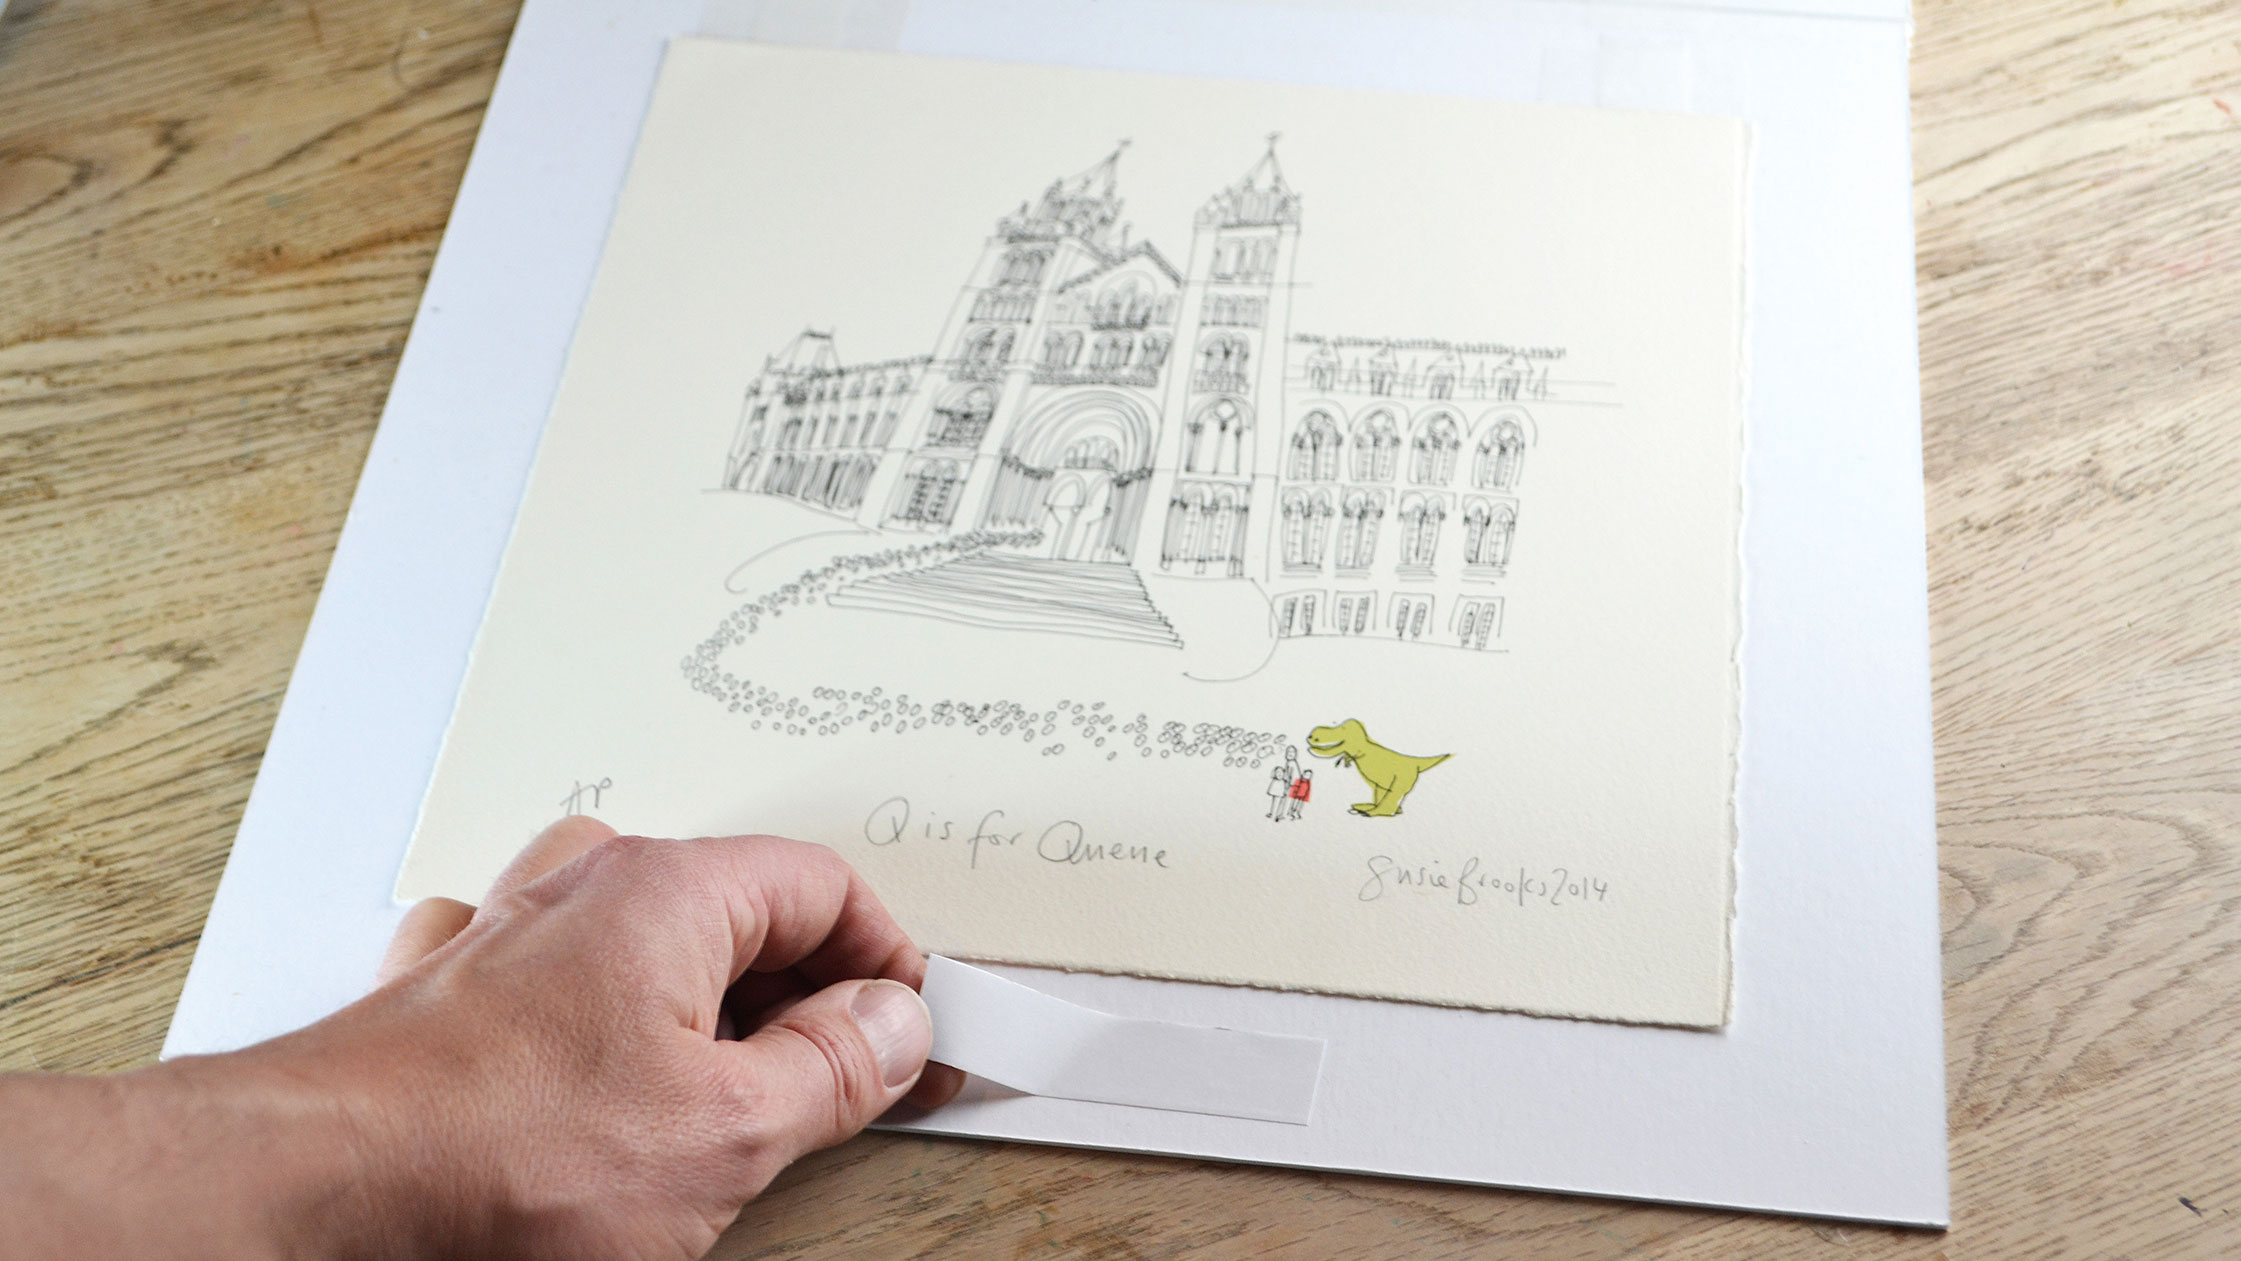
06. Align the art
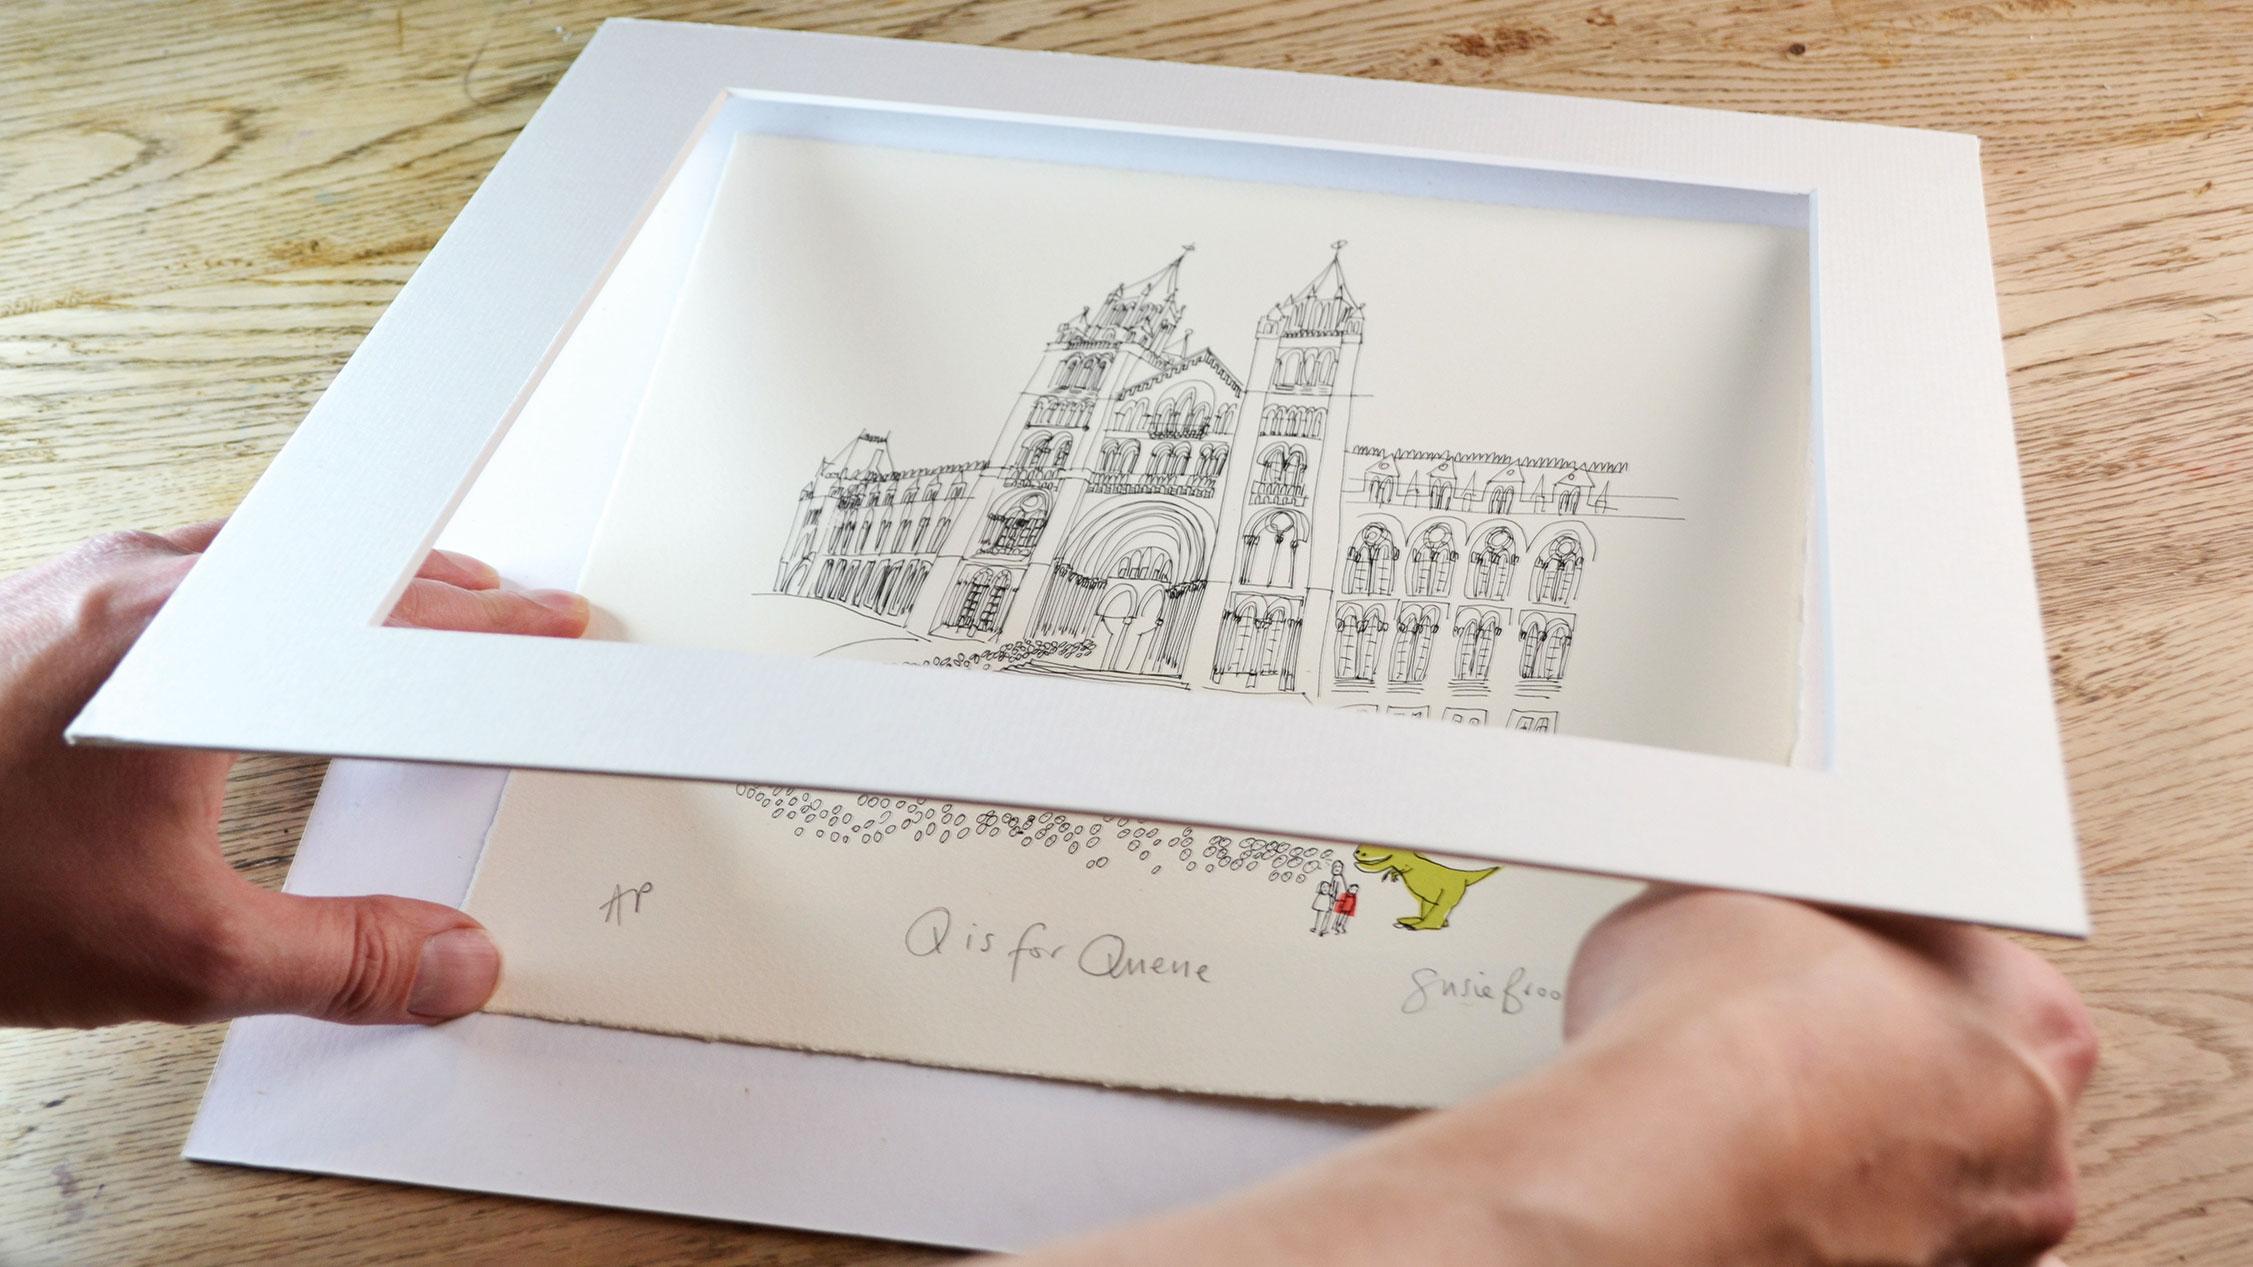
Place your image between the backing lath and the window mount and align information technology centrally. Shut the mount together to check it's aligned accurately. Next elevator one of the top corners and identify a small length (approx 5cm) of tape face-up underneath the corner so about 5mm is underneath the pic itself, printing the movie on meridian of the tape to course a bail. Echo with the other corner, beingness conscientious not to motility the position of the picture. A weight placed on the picture will help.
07. Finish the hinges
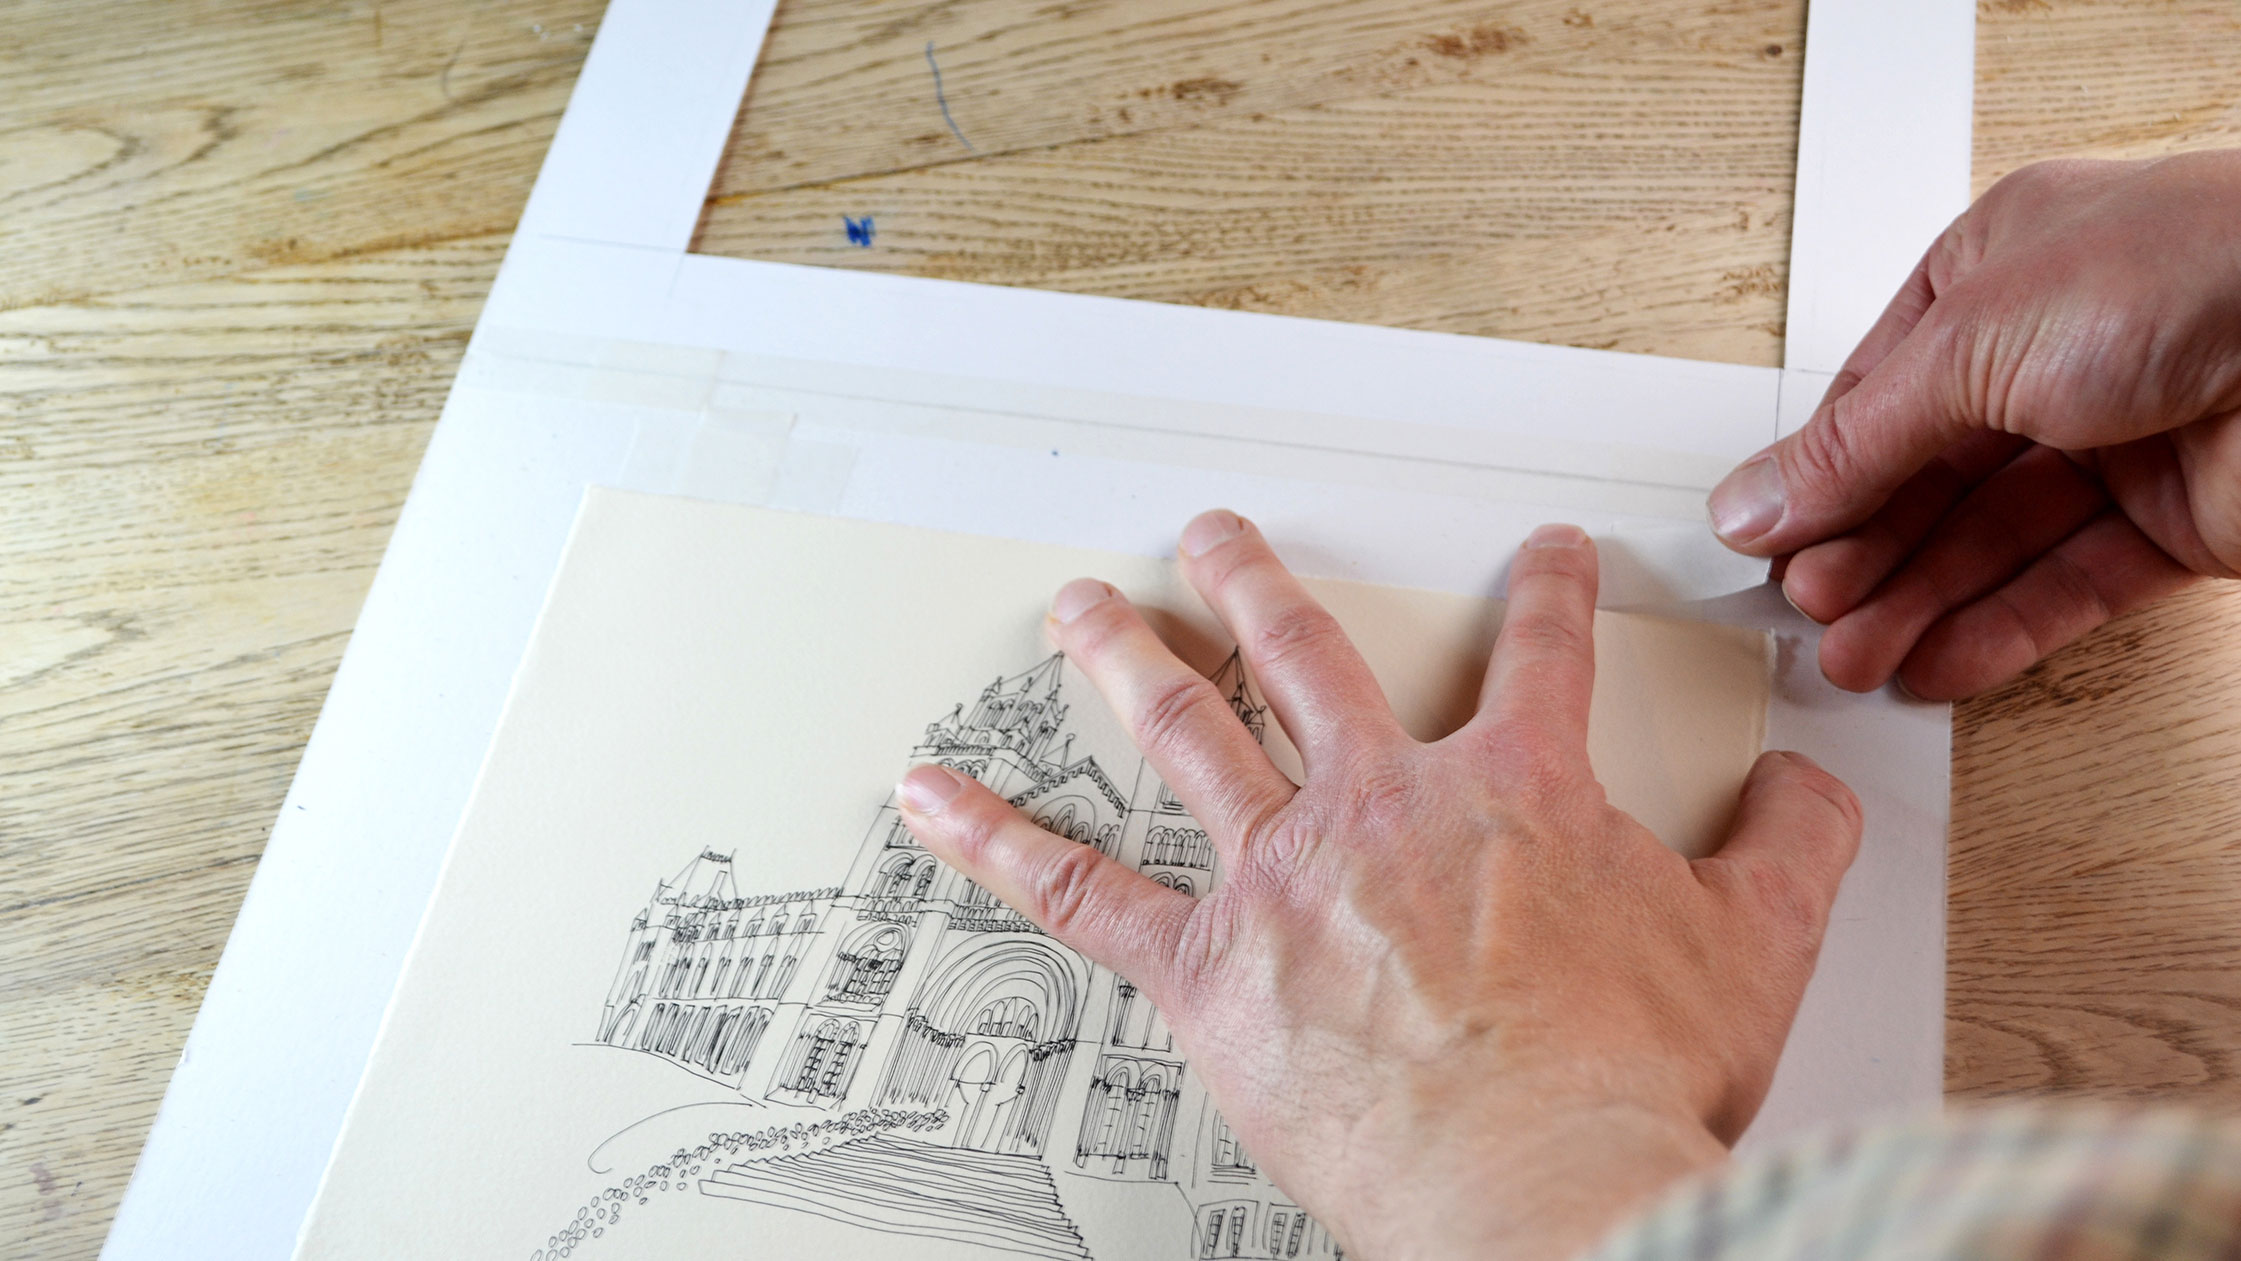
Have a 5cm length of tape and place it across the top of the exposed record facing upwardly from underneath the moving-picture show, press this downwardly firmly. Repeat for the other side. These two hinges will hang the epitome from the backing board behind the window mount, information technology will allow the paper to move effectually as it expands and contracts. Don't be tempted to add together more hinges down the side or the lesser, as these will restrict movement and the art will buckle.
08. Finish your mountain
In one case you're satisfied with the hinges, flip the window mount back over and check everything is lined up. Once you're happy with the mountain, stick a small-scale strip of double-sided record on the lower portion of the backing board and so printing the window mount firmly on top. This will stop the two pieces of board from moving around. You've now learned how to mount your artwork as your mount is finished and set for display or framing.
This article was originally published in Paint & Draw magazine .
Read more:
- Essential painting techniques for artists
- 5 things y'all need for oil painting
- Incredible drawing apps for iPad
Related articles
Source: https://www.creativebloq.com/how-to/mount-your-artwork
0 Response to "How to Mount Art Works on Paper Onto Posterboard"
Post a Comment